Your Cart is Empty
Discover the Best Microphone for Recording Vocals in 2024


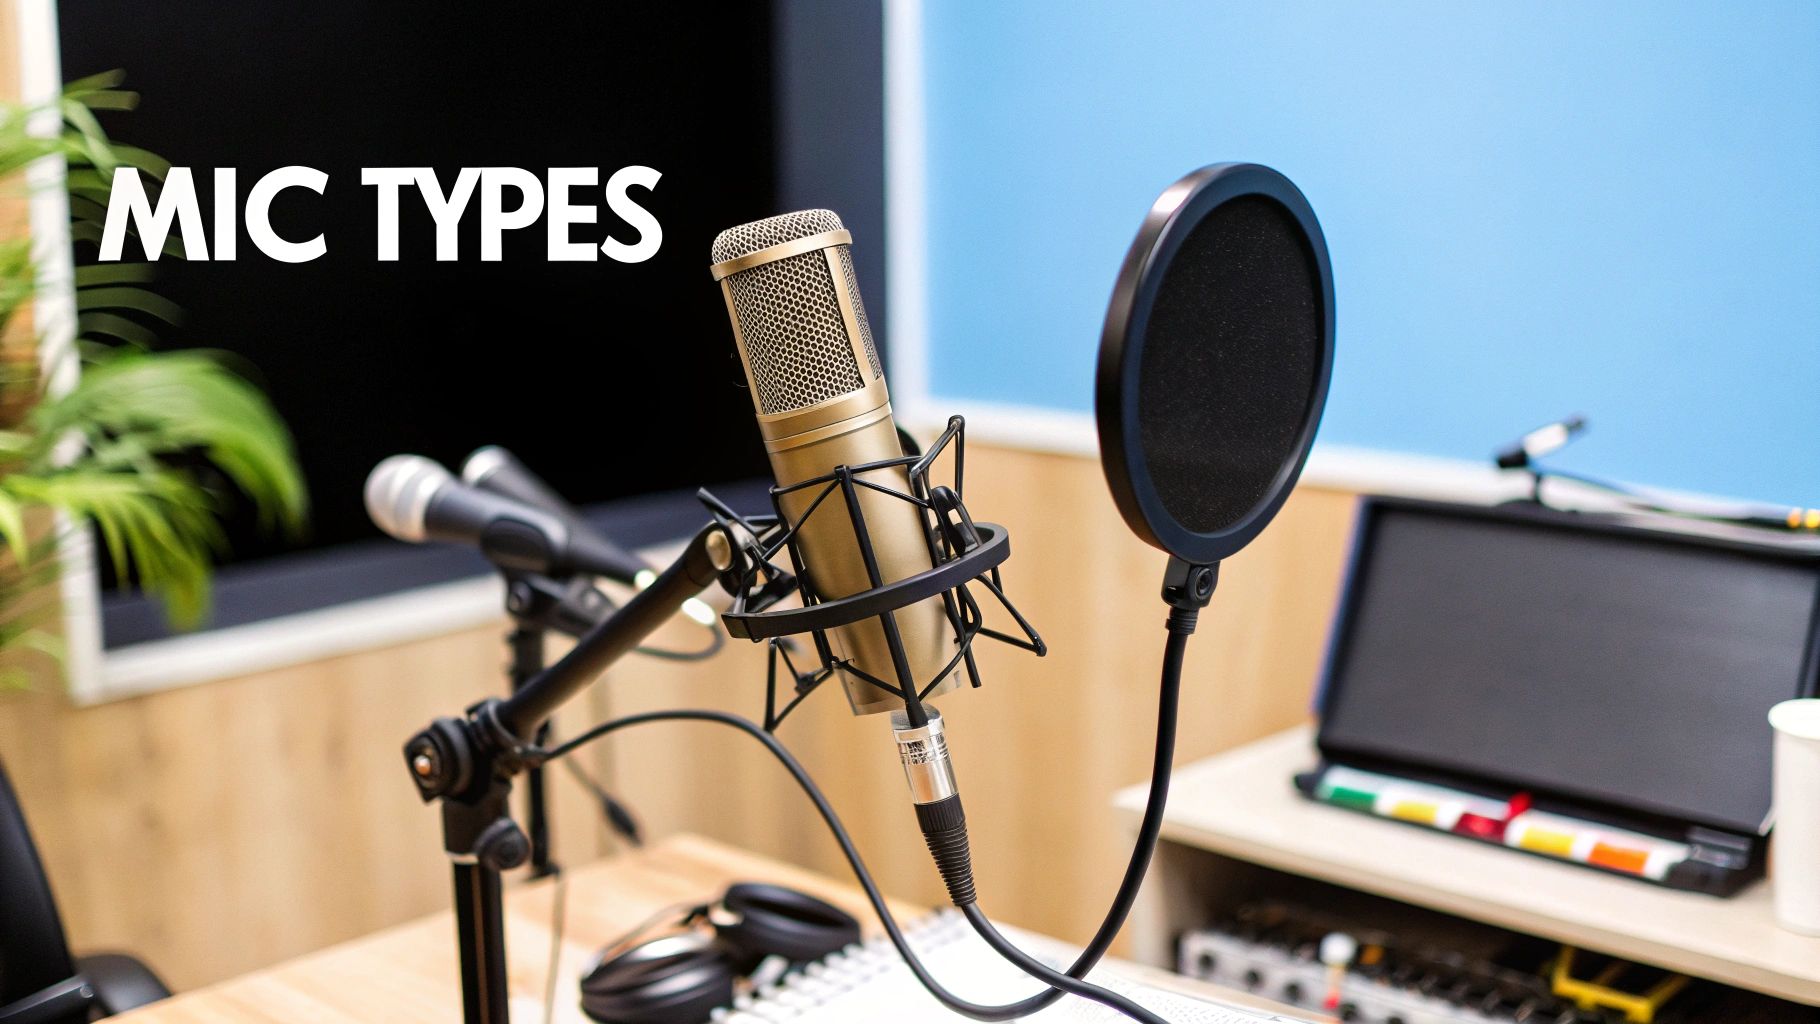
For most home studios, the question of the best microphone for recording vocals usually points to one answer: a large-diaphragm condenser mic. Their incredible sensitivity is perfect for capturing the tiny details and rich character of the human voice, making them the go-to for clean, professional-sounding tracks. That said, dynamic microphones are brilliant for more aggressive vocal styles or rooms that haven't been acoustically treated.
How to Find the Perfect Vocal Microphone
Choosing a vocal mic is probably the single biggest decision you'll make when it comes to capturing a great performance. Think of it like a photographer picking the right lens; the microphone is your primary tool for translating the emotion and nuance of a voice into a recording.
A great mic can elevate an average take into something special, while the wrong one can make even the most incredible performance sound flat and lifeless.
This guide will cut through the technical jargon and help you find the perfect match for your voice, your budget, and your recording space. We'll demystify the core tech that sets different mics apart and help you figure out which one is right for you. A quality microphone is foundational, but you might also be curious about a wider range of other essential content creation tools.
Why Your Microphone Choice Matters
More than almost any other piece of gear, your microphone choice directly shapes the final sound of your track. It's the very foundation of your entire mix.
Your microphone is the first, and most critical, link in your recording chain. It defines the raw character of your vocal before any EQ, compression, or effects are applied. Getting it right at the source saves hours of work later.
Understanding the fundamentals is key to picking a tool that truly complements your unique vocal tone. Here are the main things you need to think about:
- Your Vocal Style: Are you a soft, breathy singer or a powerhouse rock vocalist? Different mics are built to handle different sound pressures and frequencies.
- Your Recording Space: Are you working in an acoustically treated room or just a typical bedroom? A mic's sensitivity to background noise is a huge factor.
- Your Long-Term Goals: Are you just recording demos, starting a podcast, or aiming to produce professional-grade music? Your choice should line up with your ambitions.
By the end of this, you’ll have the know-how to confidently pick the best microphone for recording vocals for your specific needs.
Condenser vs. Dynamic: Which Mic Is for You?
As you dive into the world of vocal microphones, you'll constantly hear two words crop up: condenser and dynamic. These aren't just technical jargon; they represent two fundamentally different ways of capturing sound. Getting your head around what makes them tick is easily the most crucial step in finding the best microphone for recording vocals for your voice and your space.
Let’s try an analogy. Think of a condenser microphone as a high-resolution portrait camera, built to capture every subtle detail, texture, and nuance with breathtaking clarity. A dynamic microphone, on the other hand, is like a rugged, go-anywhere action camera—tough, reliable, and designed to handle intense situations and loud sound sources with focus.
The "why" behind their differences comes down to how they're built on the inside. This isn't just trivia; it directly impacts how they "hear" your voice. Choosing the right one is all about matching the tool to the job at hand.
The Detailed Artist: Condenser Microphones
Condenser microphones are the undisputed kings of the recording studio, and for good reason. They are engineered to be incredibly sensitive and responsive to sound. Inside, a super-thin, electrically charged diaphragm sits close to a solid backplate, which creates what’s known as a capacitor.
When sound waves from your voice hit this delicate diaphragm, it vibrates. This movement changes the distance between it and the backplate, which in turn alters the capacitance and gets converted into the audio signal we record. Because the diaphragm is so light, it can react to the faintest whispers and fastest vocal runs with incredible precision.
This sensitivity is what gives condenser mics their signature sound:
- Detailed Highs: They beautifully capture the airy, breathy qualities of a voice, adding a sense of space and shimmer.
- Nuanced Transients: They excel at picking up the subtle clicks, whispers, and emotional inflections that make a vocal performance feel intimate and real.
- Rich Full-Spectrum Sound: Condensers generally offer a wider frequency response, capturing both the deep lows and sparkling highs of a voice.
But this sensitivity is a double-edged sword. Condensers are so detailed that they’ll pick up everything—the hum of your computer, traffic outside your window, or the echo of an untreated room. They also need an external power source, called phantom power, to work. This is usually supplied by a +48V button on your audio interface.
For a more in-depth look, you can explore the difference between condenser and dynamic microphones in our detailed guide.
The Robust Workhorse: Dynamic Microphones
Dynamic microphones are built for durability and power. Their design is much simpler and far more rugged. In fact, you can think of it as a small speaker working in reverse: a diaphragm is attached to a coil of wire that sits inside a magnetic field.
When you sing into a dynamic mic, the sound waves move the diaphragm and its attached coil. As the coil moves through the magnetic field, it generates an electrical current—and that’s your audio signal. It’s a beautifully simple, passive design that requires no external power.
This robust construction gives dynamic mics their distinct advantages:
- Handles High Volumes: They can take a massive amount of sound pressure without distorting, making them perfect for loud rock singers, screamers, or even miking up a guitar amp.
- Excellent Noise Rejection: Because they are less sensitive, they are brilliant at focusing only on what's directly in front of them while ignoring background noise. This makes them a fantastic choice for home studios in less-than-perfect rooms.
- Durability: Their simple build means they can handle the bumps and drops of live performance and touring. The legendary Shure SM58 is famous for being nearly indestructible for this very reason.
The core takeaway is this: Condensers listen to everything with intricate detail, while dynamics listen intently to the loudest sound source right in front of them. Your choice depends on whether you need to capture every nuance in a quiet space or isolate a powerful voice in a noisy one.
So, which one is right for you? It's not about which is "better," but which is better for your situation. A crystal-clear condenser is perfect for a controlled studio environment to capture a pristine pop or folk vocal. Conversely, a tough-as-nails dynamic mic is the ideal tool for tracking aggressive rock vocals in a garage or performing on a loud stage.
Understanding The Specs That Actually Matter for Vocals
Staring at a product page full of technical specs can feel like trying to read a foreign language. It's easy to get lost in the charts and jargon. But here’s the good news: you don’t need an engineering degree to pick a great vocal mic.
Only a handful of these specs truly shape the quality and character of your sound. Once you get your head around them, you can confidently look at any microphone and know exactly how it’s going to perform for your voice and in your room. It’s all about translating those numbers into real-world results.
Let’s focus on how a microphone “hears” sound, which frequencies it naturally highlights, and how it connects to your gear. Nailing these three areas is the secret to making a smart choice.
This quick visual breaks down the relationship between a mic's features and your final vocal recording.
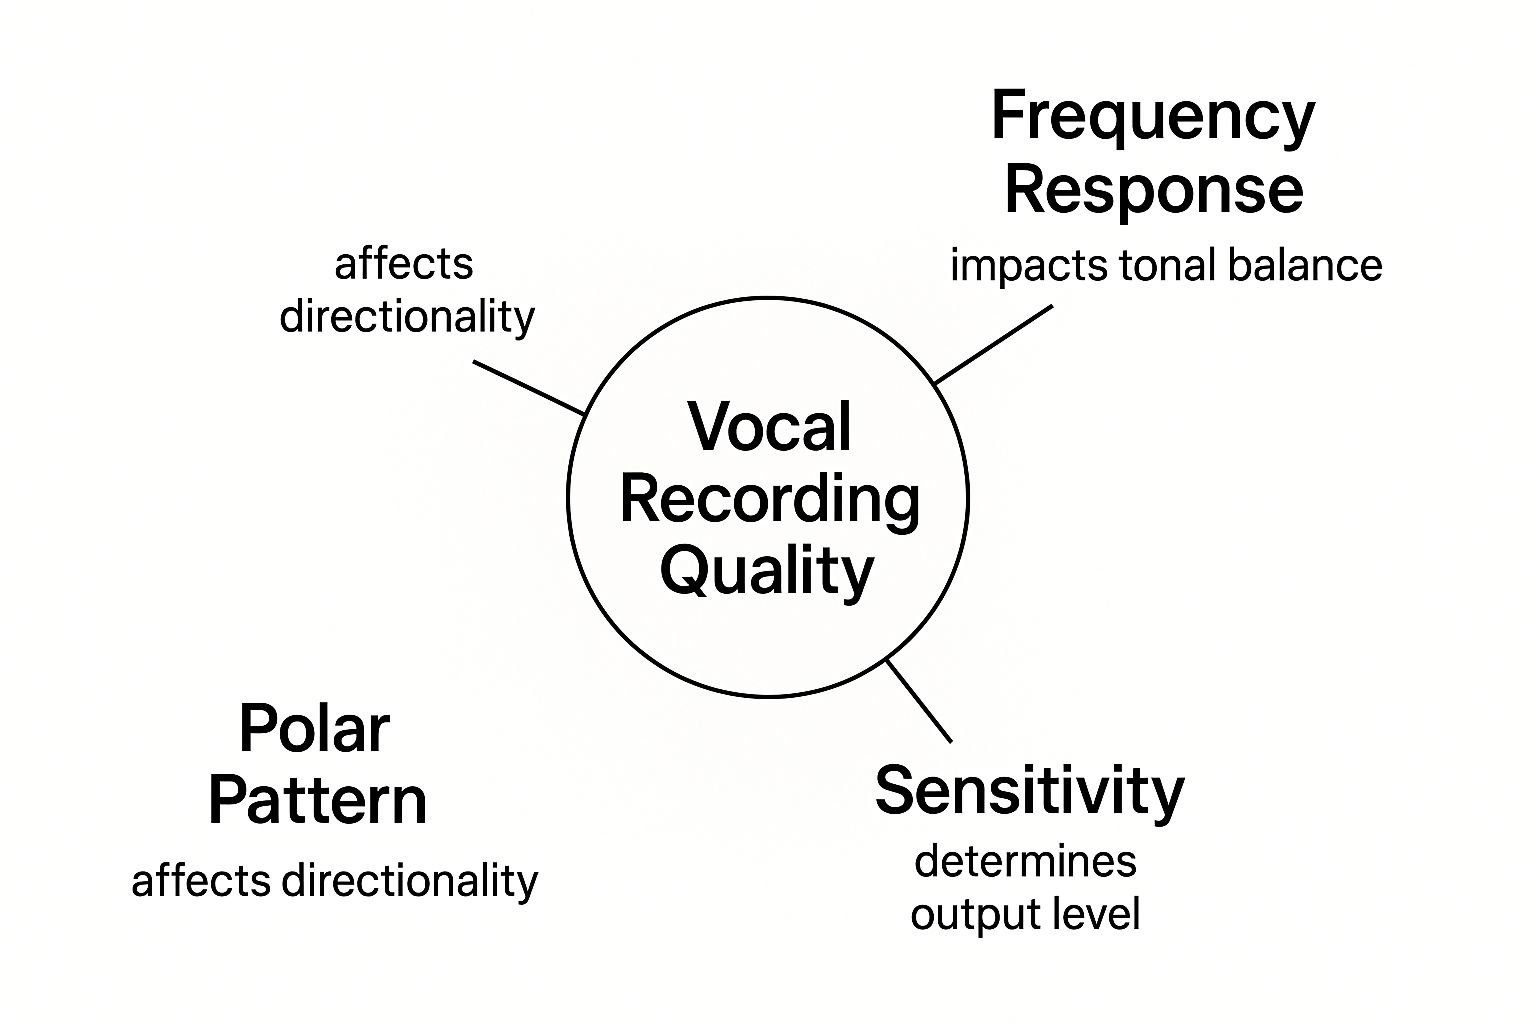
As you can see, the polar pattern, frequency response, and connection type are the core pillars that directly impact the clarity, tone, and overall vibe of your vocal tracks.
Polar Patterns: What Your Mic Actually Hears
A microphone's polar pattern is simply a map of where it picks up sound. Think of it like this: you’re at a noisy party trying to hear one person speak. You instinctively turn your ear towards them to focus on their voice and tune out the background chatter. A polar pattern is the microphone's way of doing the exact same thing.
For recording vocals, especially in a home studio, the most important pattern you'll come across is cardioid.
Imagine the cardioid pattern as a heart-shaped field of hearing, with the microphone sitting at the bottom point of the heart. It’s most sensitive to sound coming from directly in front (that’s you!) while rejecting noise from the sides and, crucially, from the back.
This tight focus is precisely why cardioid mics are the go-to for home recording. They help you isolate your vocals from distracting room echo, the whir of your computer fan, or the sound of traffic outside. The result is a much cleaner, more professional track to work with right from the start.
To help you understand the different ways microphones can "listen," here's a quick comparison of the most common polar patterns and when you might use them for recording vocals.
Comparing Vocal Microphone Polar Patterns
| Polar Pattern | How It Works (Analogy) | Best Use Case for Vocals | Rejects Sound From |
|---|---|---|---|
| Cardioid | Like cupping your ear to hear one person at a party. | Solo vocalists, home studio recording, isolating one sound source. | The rear and, to a lesser extent, the sides. |
| Omnidirectional | An open ear, hearing everything around it equally. | Capturing a room's natural ambience or a group of singers together. | Does not reject sound from any direction. |
| Bidirectional (Figure-8) | Listening only to the front and back, like having ears on opposite sides of your head. | Recording a duet with two singers facing each other across one mic. | The sides. |
While other patterns have their specific uses, if you're looking for the best all-around microphone for recording vocals at home, a cardioid pattern is pretty much non-negotiable.
Frequency Response: The Mic's Sonic Signature
If the polar pattern is where your mic hears, frequency response is how it hears. It’s a measure of the microphone’s sensitivity to different frequencies, from the deep rumble of bass to the sparkling shimmer of high notes. You'll often see this represented as a graph on the spec sheet.
Don't let the chart scare you off. All you really need to notice are the bumps and dips.
A "flat" frequency response means the mic captures all frequencies more or less equally, giving you a very natural, uncoloured sound. On the other hand, any bumps in the chart show you which frequencies the mic boosts, giving it a unique character.
- A bump in the low-mids (around 200-500 Hz) can add warmth and body, which is fantastic for singers with thinner or more reedy voices.
- A boost in the upper-mids and highs (around 3-10 kHz) adds presence, clarity, and "air," helping a vocal cut through a busy mix without you needing to touch the EQ.
This sonic signature is what people are talking about when they describe a microphone as "warm," "bright," or "dark." By understanding a mic's frequency response, you can start to match its built-in character to the unique sound of your own voice.
Connection Types: The XLR vs. USB Debate
Finally, you need a way to get the sound from your microphone into your computer. This happens through one of two main connection types: XLR or USB. The choice really comes down to balancing professional-grade quality against plug-and-play simplicity.
XLR microphones are the professional industry standard. They use a chunky, three-pin connector that plugs into an external audio interface, which then connects to your computer. This two-step setup delivers superior sound quality, lower background noise, and gives you the flexibility to upgrade each component separately down the track.
USB microphones, on the other hand, have the audio interface built right in. This allows them to plug directly into your computer’s USB port. They are incredibly simple to set up and use, making them a perfect starting point for beginners, podcasters, and streamers who just want to hit record without any fuss.
Here in Australia, the market really reflects these different needs. XLR mics are the dominant force, making up 82.07% of the market revenue and cementing their position as the top choice for serious vocal recording. At the same time, the sheer convenience of USB mics has made them the fastest-growing segment, especially for home creators. You can discover more insights about the Australian microphone market to see how these trends are shaping up.
For anyone serious about music production, the superior quality and future-proof nature of an XLR setup is almost always the way to go.
Top Vocal Microphone Picks for Every Budget
Alright, we've covered the theory. Now it’s time to get our hands on some actual gear and bridge the gap between concepts and real-world microphones. When it comes down to it, choosing the best microphone for recording vocals is all about finding that sweet spot where quality, character, and cost all line up.
This is where we get practical. We’re breaking down our top recommendations into clear, easy-to-understand budget tiers.
We'll showcase some standout mics that deliver fantastic vocal performance at every price point. Whether you're just starting out and need a dependable workhorse or you're finally ready to invest in a serious studio centrepiece, this list will help you make a confident choice. Every mic here is picked for its unique strengths in capturing the human voice.
Entry-Level Essentials Under $300
Dipping your toes into the world of recording doesn't mean you have to empty your wallet. The market for entry-level gear is more competitive than ever, which is great news for you—it means you can get truly professional-sounding results without a massive investment. The microphones in this category offer incredible bang for your buck and are perfect for setting up your first home studio.
The Audio-Technica AT2020 is a legend in the home studio space for a reason. It's a large-diaphragm condenser that gives you that crisp, detailed sound you’d expect from more expensive studio mics. It’s especially great for pop and acoustic vocals, capturing all that high-frequency detail with impressive clarity.
Another titan in this price range is the Rode NT1. This mic is famous for being incredibly quiet (low self-noise) and having a warm, almost vintage-inspired tone. The NT1 has a smooth character that feels polished straight out of the box, making it an excellent all-rounder that flatters a huge range of vocal styles, from delicate folk to powerful R&B.
Key Takeaway: Don't write off affordable microphones. Modern manufacturing means mics under $300 can deliver clean, detailed recordings that will absolutely hold their own in a professional mix. Just focus on finding a mic with a clean signal and a character you genuinely love.
Finally, if you're recording in a room that's not acoustically treated, or you have a more aggressive vocal style, the Shure SM58 is a must-consider. Yes, it's technically a live dynamic mic, but its incredible ability to reject background noise and handle loud sounds makes it a secret weapon in home studios. It delivers a focused, punchy sound that often needs very little work in post-production.
Home Studio Workhorses From $300 to $800
When you step into the mid-range, you start finding the microphones that are staples in professional and project studios everywhere. These "workhorse" mics are a significant step up in build quality, sonic detail, and versatility. An investment here will give you a tool that will serve you faithfully for years and years.
The Shure SM7B is arguably one of the most famous vocal mics in history. It’s been used on countless hit records, from Michael Jackson's Thriller to all sorts of modern pop and hip-hop tracks. It's a dynamic microphone prized for its smooth, warm character and its amazing rejection of background noise. The SM7B is the best microphone for recording vocals if you need that polished, broadcast-quality sound in a less-than-perfect room.
Another fantastic option is the AKG C214. Think of it as the more affordable sibling to the legendary C414. It uses the same capsule but in a fixed cardioid pattern. What you get is a bright, modern sound with a beautiful high-end sparkle that helps vocals slice through a dense mix, making it ideal for contemporary pop and rock.
Once you've figured out the right mic for you, you might wonder where to shop. There are many reputable stores to find the best microphone for recording that specialise in professional audio gear.
Professional Studio Standards Over $800
When you’re ready for a top-tier, no-compromise vocal sound, you’re entering the world of professional studio standards. These microphones are a serious investment, but they deliver a level of nuance, depth, and clarity that is simply on another level. These are the tools used on the world's biggest stages and in the most renowned recording studios.
The Neumann TLM 103 is often seen as the gateway to Neumann’s iconic sound. It gives you the pristine clarity, rich midrange, and silky top end that the brand is famous for, all at a more accessible price than their flagship models. This large-diaphragm condenser captures vocals with breathtaking detail and realism.
For those chasing ultimate warmth and character, a tube microphone like the Avantone Pro CV-12 is an excellent choice. It adds a gentle saturation and smooth compression that is incredibly flattering on vocals, giving them a rich, vintage quality that's hard to replicate with plugins. It really shines on styles like jazz, R&B, and soulful pop, where vocal character is everything.
How to Set Up Your Mic for Professional Results
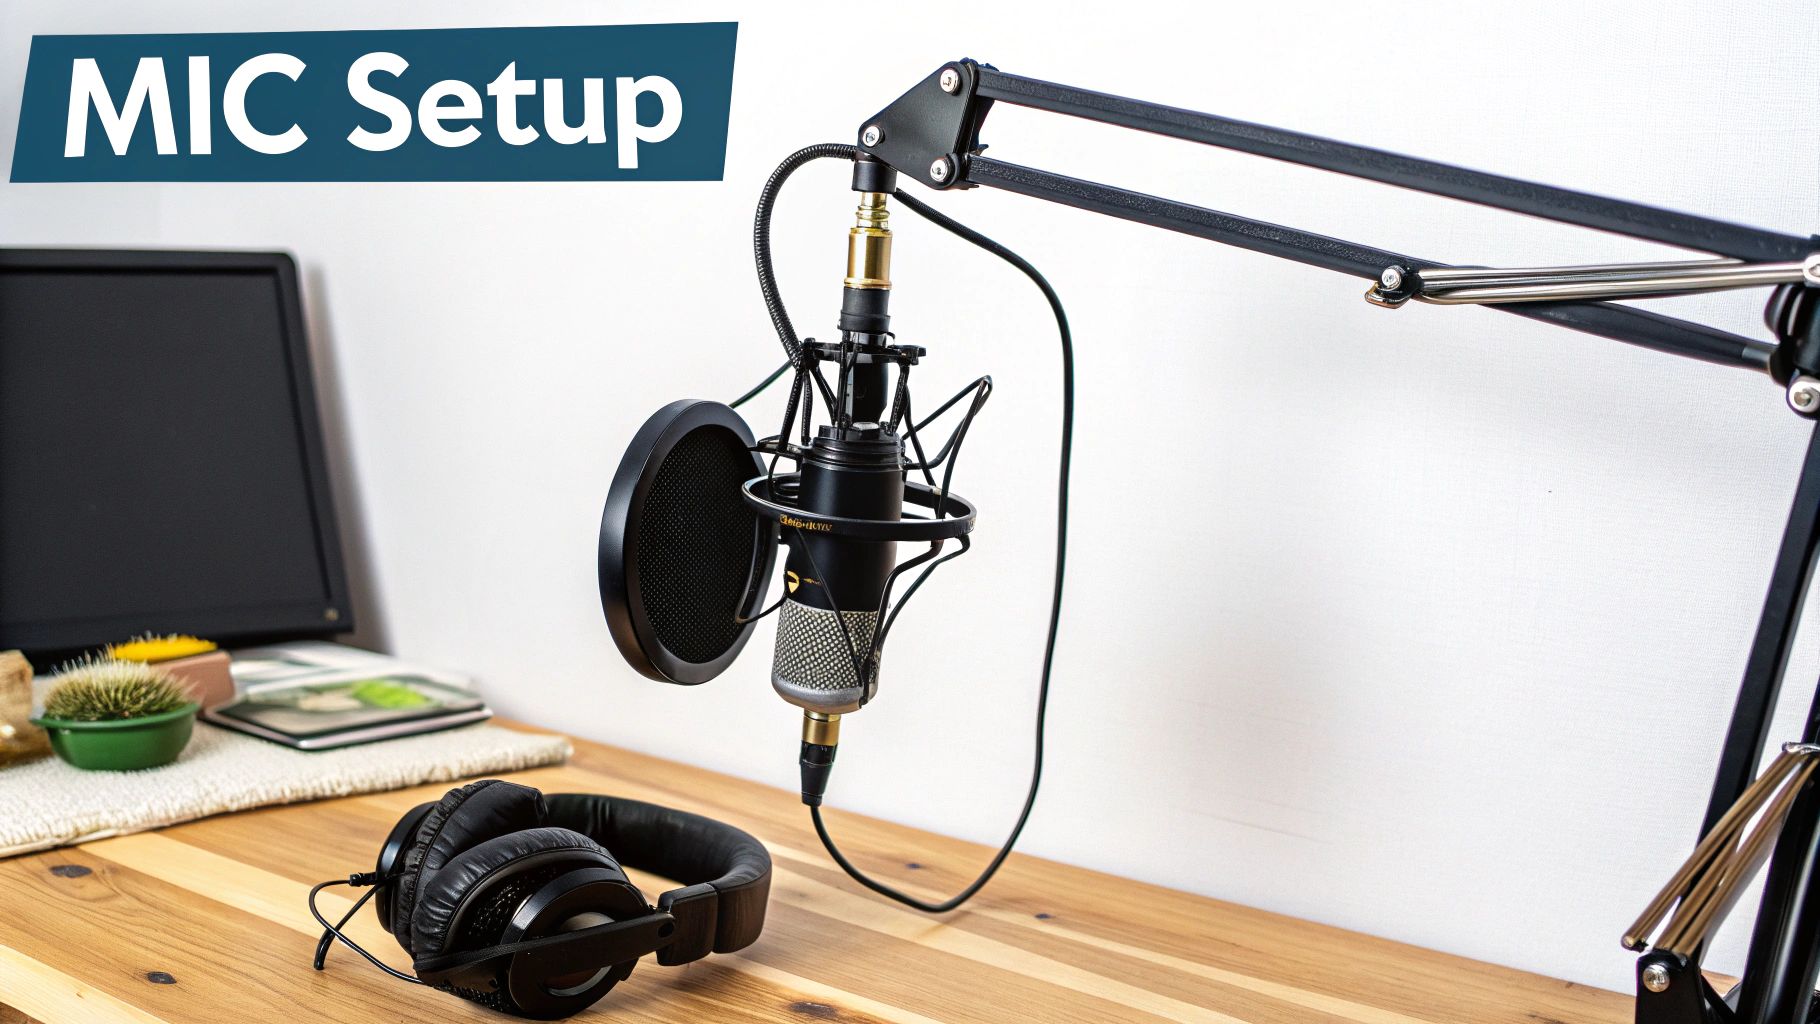
Unboxing that perfect vocal mic is a brilliant first step, but it’s really only half the battle. The real magic happens when you pair great gear with smart technique. The way you position your mic, the accessories you use, and the room you record in will have a massive impact on your final sound.
Think of your new microphone as a high-performance car; you still need to know how to drive it to win the race. Luckily, a few simple setup principles can take your raw vocal takes from sounding amateurish to impressively professional.
These techniques don't require a million-dollar studio—just a little know-how and attention to detail. Let's cover the essentials that will deliver an immediate and noticeable improvement to your recording quality.
Must-Have Accessories for Clean Vocals
Before you even think about hitting record, two accessories are completely non-negotiable for capturing clean vocals: a pop filter and a shock mount. They might seem like small additions, but they solve two of the biggest problems you'll face in vocal recording.
A pop filter is that mesh or metal screen you see sitting between the singer and the microphone. Its one and only job is to stop "plosives"—those aggressive bursts of air from "p" and "b" sounds—from slamming into the microphone's sensitive capsule and creating a distorted, bassy 'pop'.
A shock mount is the cradle that suspends your microphone, isolating it from the mic stand itself. Without it, any tiny vibration, like tapping your foot on the floor or bumping the stand, travels straight up into the mic and gets recorded as a muddy, low-frequency rumble. These tools are your first line of defence.
Finding the Vocal Sweet Spot
Microphone placement is definitely an art, but it starts with some simple science. The distance and angle of the microphone relative to your mouth will dramatically shape the tone of your recording. A great starting point is to place the pop filter about a hand's width (around 15 cm) away from the microphone.
From there, sing into the mic from another hand's width away from the pop filter. This is your baseline.
Getting too close to a cardioid microphone creates the proximity effect, which is an artificial boost in the bass frequencies. While sometimes desirable for a deep, broadcast-like sound, it can easily make vocals sound boomy and muddy.
Now it's time to experiment to find what works best for your voice:
- Move Closer: This will ramp up the proximity effect, adding warmth and intimacy, but you risk things getting muddy.
- Move Farther Away: This backs off the bass and captures more of the room's natural sound, creating a more open, airy feel.
- Slightly Off-Axis: Try positioning the microphone a little above your mouth, angled down. This simple trick can help reduce harsh sibilance (those sharp "s" sounds) and plosives without you having to do a thing.
Taming Your Room on a Budget
Your recording space is the final, crucial piece of the puzzle. An untreated room with hard, reflective surfaces like windows and bare walls will cause sound waves to bounce all over the place. Your sensitive mic will happily pick up all that echo and reverb, and you'll be left with a messy recording.
But don't worry, you don't need to build a professional vocal booth to fix this. Simple DIY acoustic treatment can make a world of difference. The goal here is absorption—using soft materials to stop those sound reflections in their tracks.
Here are a few simple and surprisingly effective ideas:
- Use Thick Blankets or Duvets: Seriously. Hang them on the walls around your recording area to soak up reflections.
- Record in a Walk-In Wardrobe: The clothes act as natural sound absorbers, creating a focused recording environment for free.
- Position Rugs on Hard Floors: This helps to kill those nasty floor-to-ceiling reflections.
For those wanting an even more controlled environment without permanent construction, portable solutions can offer incredible isolation. You can enhance your vocal recording with a mobile vocal booth, which can drastically reduce room noise and reflections for truly pristine results.
Common Questions About Vocal Microphones
As you get closer to choosing a mic, a few final questions always seem to pop up. It's totally normal. Getting clear, straightforward answers is the best way to make sure you're picking the right tool for the job with total confidence. Let’s clear the air on some of the most common queries we hear from artists and producers.
A big one is whether you really need an expensive microphone for great vocals. The answer is a definite no. While a top-shelf mic can capture incredible detail, you'd be amazed at the professional quality you can get from today's affordable options. Honestly, your recording technique and the room you're in matter way more. A mid-range mic in a well-treated space will sound infinitely better than a high-end one in an echoey, untreated room.
Key Technical Questions
So, what’s the deal with a pop filter? Is it essential? A pop filter is that mesh screen you see between a singer and their microphone. It's designed to break up the harsh bursts of air from 'p' and 'b' sounds—we call those "plosives"—which can otherwise smack the microphone's diaphragm and create a horrible thud in your recording. It’s a cheap and absolutely vital piece of kit for clean vocals.
Another term that comes up a lot is phantom power. This is a +48V electrical current sent through an XLR cable from your audio interface. It's specifically there to power the sensitive internal electronics of condenser microphones. Without it, they simply won't turn on. Dynamic mics, on the other hand, don't need it but are built to handle it if you accidentally leave it on.
The choice between a USB or XLR microphone really comes down to what you're trying to achieve. USB mics are all about plug-and-play simplicity, making them perfect for podcasting or quickly getting demo ideas down. But for serious music production, the superior quality and sheer flexibility of an XLR setup is the only way to go.
While most of this guide is about capturing a single voice, some creators are pushing the boundaries of sound. If you’re interested in creating truly immersive audio, it's worth checking out why ASMR YouTubers love binaural microphones to understand their unique, three-dimensional approach.
Ready to find the perfect microphone for your voice? Explore the extensive range of studio-quality vocal mics at Sounds Easy and get expert advice from industry professionals. Visit https://soundseasy.com.au to discover your sound today.
Leave a comment
Comments will be approved before showing up.
PayPal Pay Later Messaging
Step 1: Choose message placement
Click the button below and then hover over your page to select a placement.